Kiosk Mode
Kiosk Mode turns MineSec Pay 7 into an unattended, customer-facing payment terminal. While idle, the device shows the merchant's promotional images (digital signage). When a payment request arrives from the POS through PayServer, the app opens the payment screen automatically and returns to the signage once the transaction completes.
Prerequisite: Kiosk Mode is controlled by the terminal's Operating Mode in the TMS Portal. Only terminals set to Kiosk can enable it. Terminals set to Merchant, or not configured, keep the standard merchant flow.
Set the Operating Mode (TMS Portal)
- Log in to the TMS Portal, go to Merchant and select the merchant profile.
- Open the Activation Code tab and click the terminal Alias to open the Edit panel.
- Set Operating Mode to Kiosk.
- Under POS Connector, choose the Connection mode: Local (POS on the same LAN) or Cloud. For Cloud, copy the Cloud device ID for the POS integration.
- Click Save. The Kiosk Content tab now appears under the merchant profile.
Upload kiosk content (TMS Portal)
- Open the Kiosk Content tab.
- Select Portrait or Landscape to match the device orientation.
- Set the Image Rotation Interval in seconds.
- Click Add image to upload images, up to 5 per orientation. Check the result in Device Preview.
- Click Save Changes. Update Succeed confirms the content is saved.
Kiosk content is set per merchant and applies to every Kiosk terminal under that merchant. Nothing changes until you click Save Changes.
Enable Kiosk Mode (app)
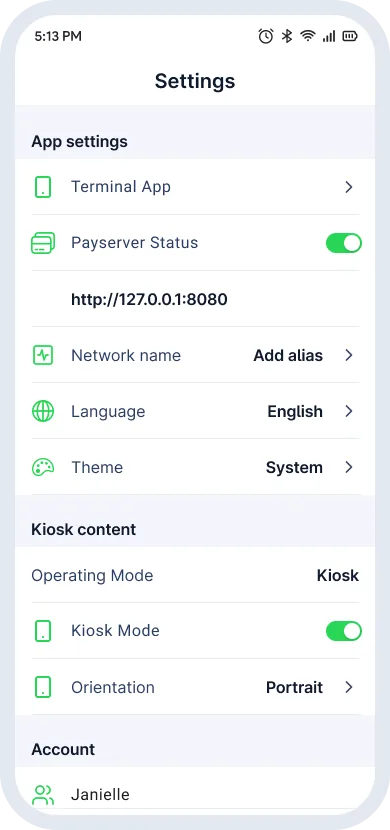
- Tap Settings → Terminal App → Refresh App to sync the latest configuration from TMS.
- Under Kiosk content, check that Operating Mode shows Kiosk, and set Orientation to Portrait or Landscape.
- Turn on Kiosk Mode. Payserver Status switches to On automatically and shows the device's local address, for example
http://192.168.x.x:8000. - In the Kiosk Mode is enabled dialog, tap Go to kiosk to start the signage screen, or Not Now to keep configuring.

Accept payments
- The device shows the signage images, rotating at the configured interval.
- When the POS sends a sale request, the app opens the payment screen with the amount filled in.
- The customer taps their card or mobile wallet on the Tap to pay screen.
- After authorization, the Sale-Approved screen appears and the app returns to the signage.

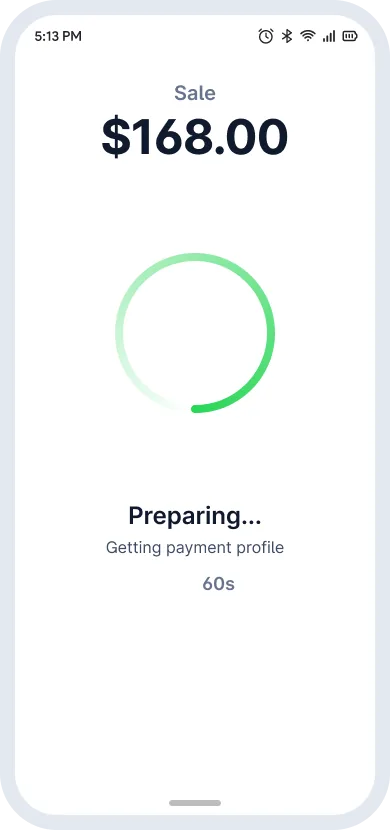
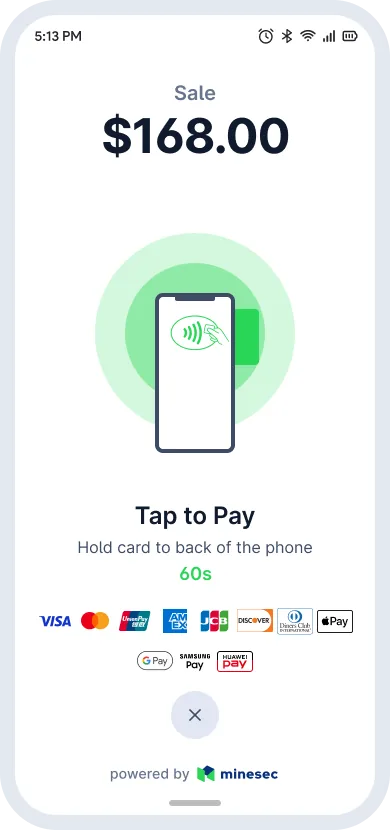
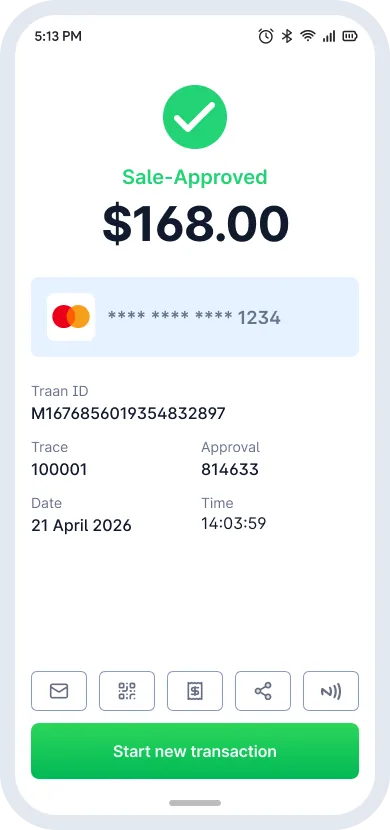
Kiosk cycle
- Signage
- POS Request
- Tap to pay
- Authorizing
- Sale-Approved
- Signage
Unattended safeguards: the close and cancel buttons are hidden on the Tap to pay and processing screens. A transaction can only be cancelled by the POS, by timeout, or by a system error. PayServer accepts one transaction at a time per device. Opening Settings from the signage screen requires the Merchant Passcode.
Kiosk settings reference
| Field | Description |
|---|---|
| Operating Mode | Terminal mode assigned in TMS (Kiosk or Merchant). Read-only on the device. |
| Kiosk Mode | Turns the idle digital signage on or off. |
| Orientation | Portrait or Landscape; decides which image set is shown. |
| Payserver Status | Local server that receives payment requests from the POS. Turns on automatically with Kiosk Mode. |
| Network name | Optional alias that helps the POS find this device on the local network. |
| Image Rotation Interval | Set in TMS. Seconds each image is shown before the next one. |